将三大框架整合在一起的方法
一、前期准备
- 导包(Maven设置)
1 |
|
二、整合Mybatis层
2.1 数据库创建
1 | create database `ssmbuild`; |
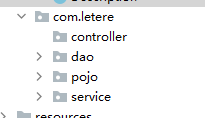
2.2 创建相应的包
- controller、dao(mapper)、pojo(bean)、service
2.3 创建数据库对应的bean/pojo
- 为了偷懒,可以导入一个第三方jar包lombok
1 | Maven依赖导入 |
1 | Bean/Pojo |
2.3 创建接口
- 在dao包中创建映射接口
1 | public interface BookMapper { |
2.4 创建接口的Mybatis的映射文件
- 在dao包中创建和接口同名的映射文件
- 在映射文件中添加方法执行的sql语句
1 |
|
2.5 创建Mybatis全局映射文件
- 在全局配置文件中注册Mapper映射文件
1 |
|
2.6 创建Service层的实现类
- 在Service包创建BookMapper的实现类,用于Controller层调用
1 |
|
2.7 创建好数据库连接配置文件
- 在resources文件下创建一个database.properties
1
2
3
4
mysql.dirver=com.mysql.cj.jdbc.Driver
mysql.url=jdbc:mysql://localhost:3306/ssmbuild?serverTimezone=GMT%2B8&useSSL=true&useUnicode=true&characterEncoding=utf8
mysql.username=root
mysql.password=123
2.8 创建配置整合文件
- 将mybatis+spring+springmvc三个框架都整合在一个文件中
1 |
|
三、整合Spring层
3.1 关于DAO层的Spring配置文件
- 创建一个spring-dao.xml的配置文件,里面填写配置内容
1 |
|
3.2 关于Service层的Spring配置文件
- 创建一个Spring-service.xml 文件,里面填写配置信息
1 |
|
3.3 在关联Spring文件导入dao和service的配置文件
- 在applicationContext.xml中导入spring-dao.xml 和 spring-service.xml配置文件
1 | applicationContext.xml |
四、整合SpringMVC层
4.1 添加web支持
- 右键模块 –> Add FrameWork Support –> JavaSE –> Web Application –> 勾选后选择4.0版本
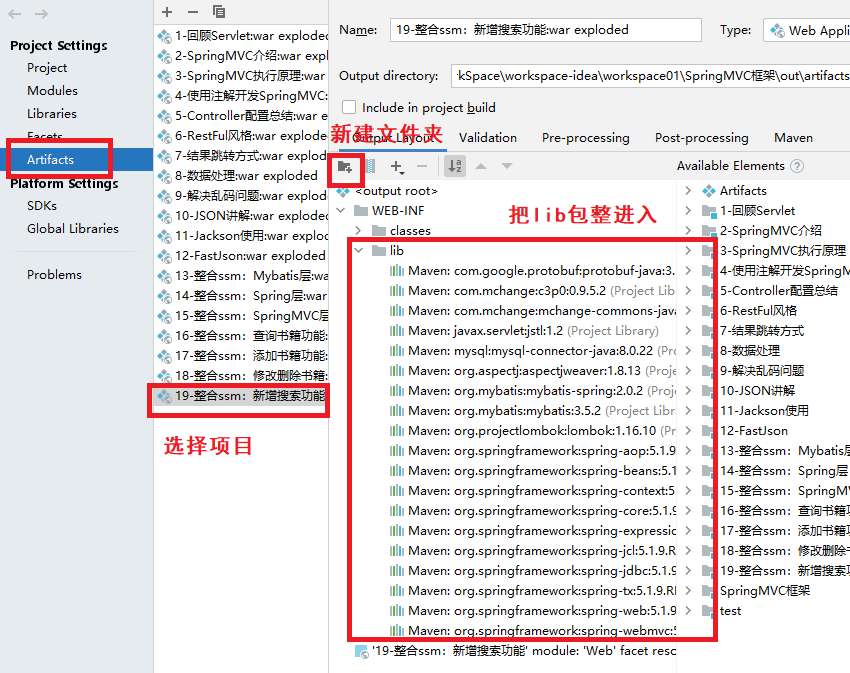
- 防止项目发布出现缺少依赖,要手动将依赖引入到发布项目中
4.2 创建springmvc的配置文件
- 创建spring-mvc.xml配置文件,里面填写配置信息
1 |
|
4.3 将SpringMVC配置导入到Spring关联文件
- 将spring-mvc.xml导入到applicationContext.xml中
1 |
|
4.4 配置Web.xml文件
1 |
|
- 以上是框架整合最基本的的内容了
- 后面就是Controller 和 JSP页面之间的使用,在SpringMVC中有所讲解,就不展开了