关于前端模块化整合工具cli脚手架的介绍和使用
一、脚手架安装
(1)安装8.9版本以上的node
(2)安装webpack
(3)安装脚手架
npm install -g @vue/cli
(4)拉脚手架2.x模板
npm install -g @vue/cli-init
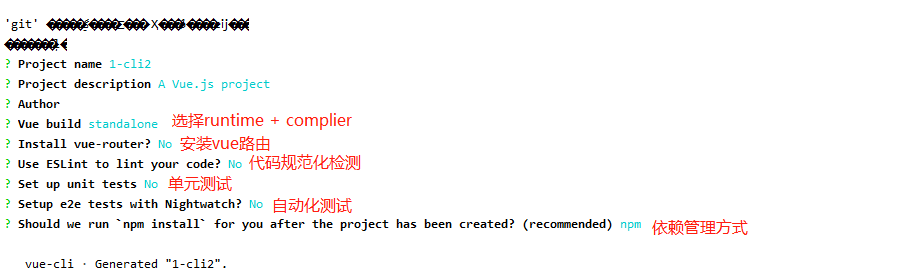
二、vue cli2项目初始化
- 命令行运行
vue init webpack 项目名称(非中文)
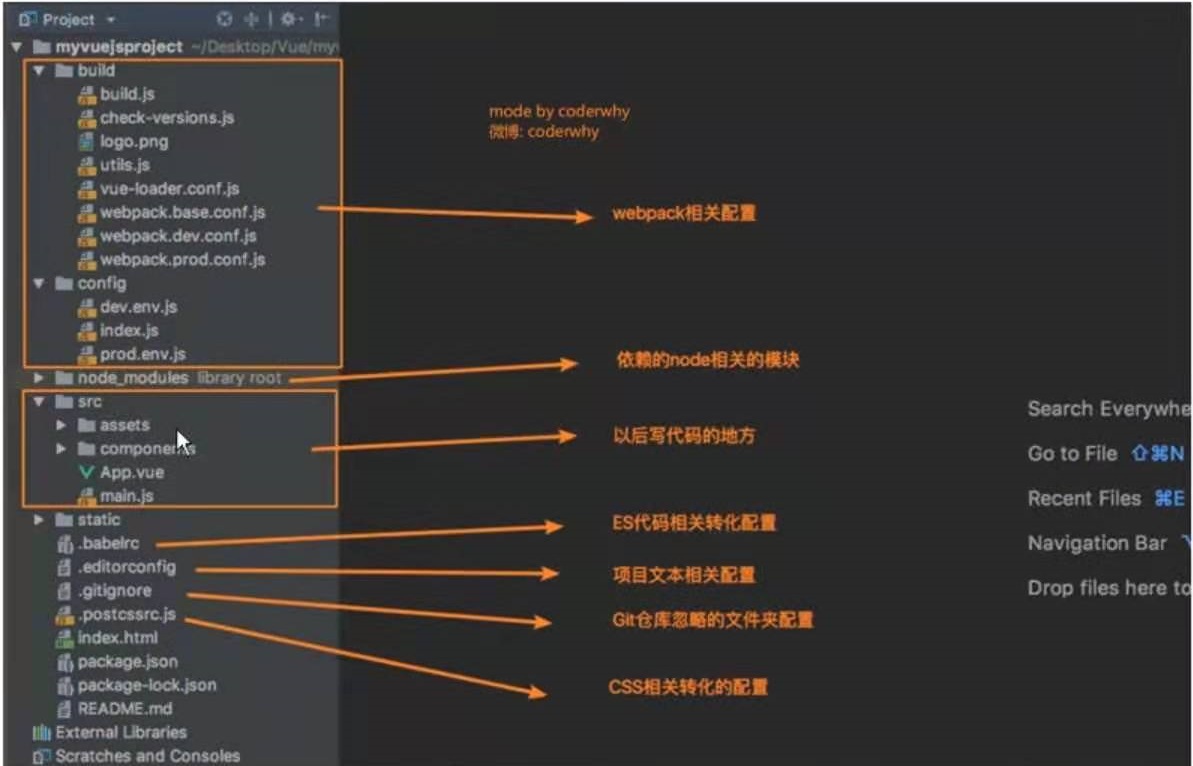
- 目录结构介绍
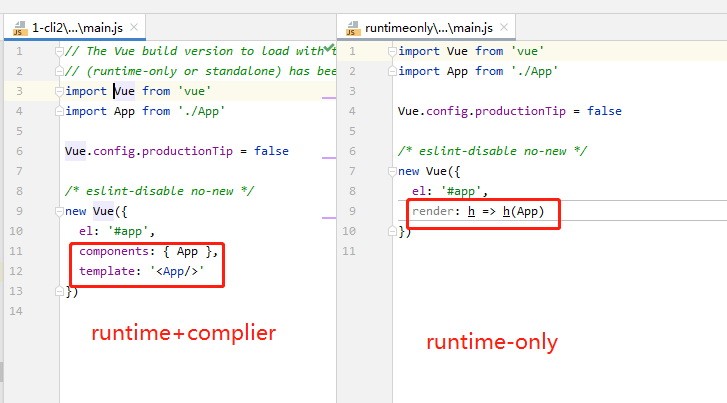
三、runtime-compiler和runtime-only
3.1 区别
- Vue cli 编译流程
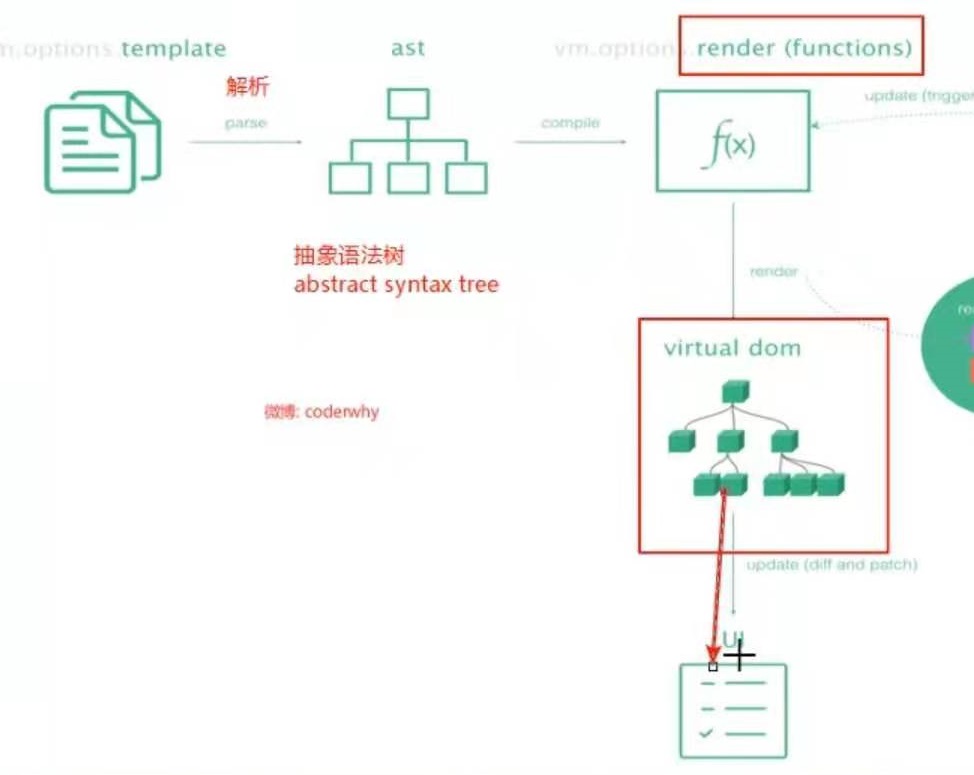
runtime-compiler
- 流程:template => ast => render => vdom => UI
runtime-only
- 流程:render => vdom => dom
总结:
- 1、runtime-only的性能比runtime-compiler性能好
- 2、runtime-only需要的代码量更少
3.2 runtime-compiler使用render
- 使用render,需要使用到createElement函数
- 使用方法:
- (1)
createElement(标签,{标签的属性}, [标签内容])
1 | createElement('h2', {class: 'box'}, ['Hello World!']) |
- (2)
createElement(组件对象)
1 | const test = { |
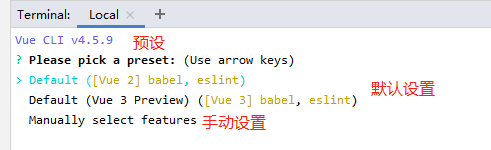
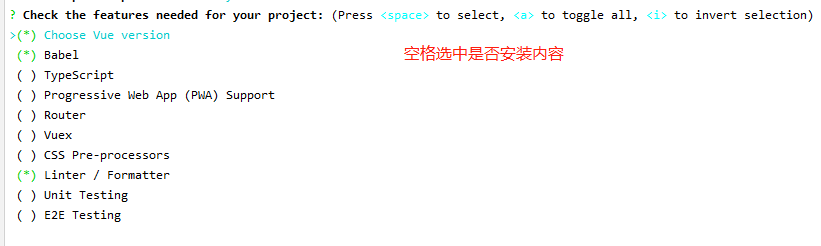
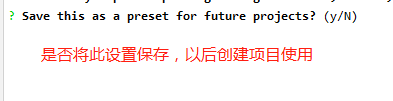
四、cli3/4项目初始化
4.1 项目创建
- 命令行执行:
vue create 项目名称

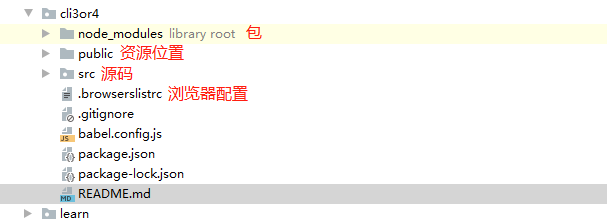
4.2 目录结构
- cli3之后,按照‘0配置’的原理进行更新,所有最开始的两个项目配置文件被隐藏
4.3 main.js改变
1 | import Vue from 'vue' |
五、cli3/4配置
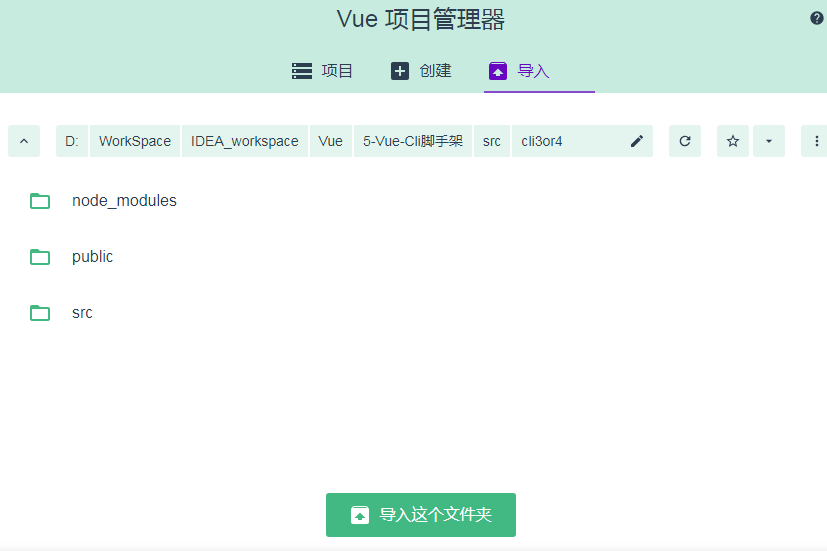
5.1 官方UI界面
- 在命令行输入:
vue ui
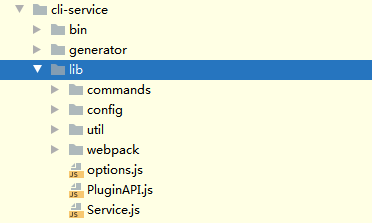
5.2 寻找被隐藏的配置文件
- 文件路径:
node_modules\@vue\cli-service\lib
5.3 创建配置文件
- 在根目录下创建一个名为“vue.config.js”的文件,里面填写webpack的配置
1 | module.exports = { |
六、箭头函数
6.1 箭头函数的使用
1 | //普通函数 |
6.2 箭头函数this的使用
- 箭头函数的this,引用的时最近作用域中的this
- 箭头函数this,会往上一层的this寻找