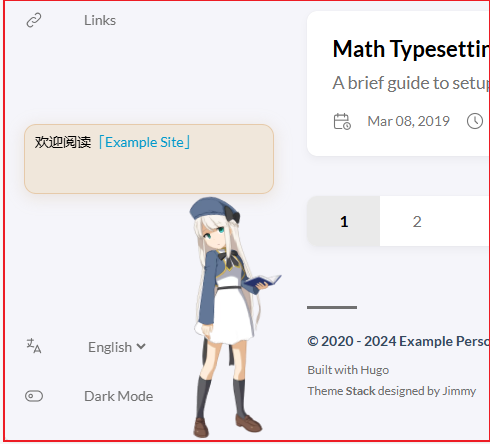
Featured image of post 【Hugo】博客引入moc3类型的live2d模型

【Hugo】博客引入moc3类型的live2d模型

介绍如何给博客引入moc3类型的live2d模型

|
|

TODO: bilibili视频,不摸的话


前言

  • live2d-widget 自带模型用腻了之后,想找一个自己喜欢的模型,就接触了moc3类型的模型。moc3类型是cubism新版模型的类型,而旧版模型的类型是moc模型
  • 而live2d-widget并不支持moc3模型,只支持moc模型,所以寻找新的组件来适配moc3模型。找到了以下两个组件 oh-my-live2dLive2dOnWeb ,但这两组件或多或少有自己的毛病,不及 live2d-widget 使用方便
  • 于是个人基于 live2d-widget 框架,对moc3类型的模型进行适配,诞生了此项目 live2d-widget-v3

1 基本引入

  • (1)找到博客的页头(head)或页脚(footer),将以下代码引入进去
    • tips: stack主题的页脚在layouts/partials/footer/custom.html,可以修改此html
 1
 2
 3
 4
 5
 6
 7
 8
 9
10
11
12
13
14
15
16
17
18
19
20
21
22
23
24
25
26
27
28
29
30
31
32
33
34
35
36
37
38
39
40
41
42
43
44
45
46
47
48
49
50
51
52
53
54
55
56
57
58
59
60
61
62
63
<script>
  const cdnPath = 'https://cdn.jsdelivr.net/gh/letere-gzj/live2d-widget-v3@main';
  const config = {
    // 资源路径
    path: {
      modelPath: cdnPath + "/Resources/",
      cssPath: cdnPath + "/waifu.css",
      tipsJsonPath: cdnPath + "/waifu-tips.json",
      tipsJsPath: cdnPath + "/waifu-tips.js",
      live2dCorePath: cdnPath + "/Core/live2dcubismcore.js",
      live2dSdkPath: cdnPath + "/live2d-sdk.js"
    },
    // 工具栏
    tools: ["hitokoto", "asteroids", "express", "switch-model", "switch-texture", "info", "quit"],
    // 模型拖拽
    drag: {
      enable: true,
      direction: ["x", "y"]
    },
    // 模型切换(order: 顺序切换,random: 随机切换)
    switchType: "order"
  }

  // 加载资源并初始化
  if (screen.width >= 768) {
    Promise.all([
      loadExternalResource(config.path.cssPath, "css"),
      loadExternalResource(config.path.live2dCorePath, "js"),
      loadExternalResource(config.path.live2dSdkPath, "js"),
      loadExternalResource(config.path.tipsJsPath, "js")
    ]).then(() => {
      initWidget({
        waifuPath: config.path.tipsJsonPath,
        cdnPath: config.path.modelPath,
        tools: config.tools,
        dragEnable: config.drag.enable,
        dragDirection: config.drag.direction,
        switchType: config.switchType
      });
    });
  }

  // 异步加载资源
  function loadExternalResource(url, type) {
    return new Promise((resolve, reject) => {
      let tag;
      if (type === "css") {
        tag = document.createElement("link");
        tag.rel = "stylesheet";
        tag.href = url;
      }
      else if (type === "js") {
        tag = document.createElement("script");
        tag.src = url;
      }
      if (tag) {
        tag.onload = () => resolve(url);
        tag.onerror = () => reject(url);
        document.head.appendChild(tag);
      }
    });
  }
</script>
  • (2)这样就引入好了,模型是官方sdk自带的,模型的位置在仓库的/Resources目录下


2 自定义适配

2.1 调整css和提示语

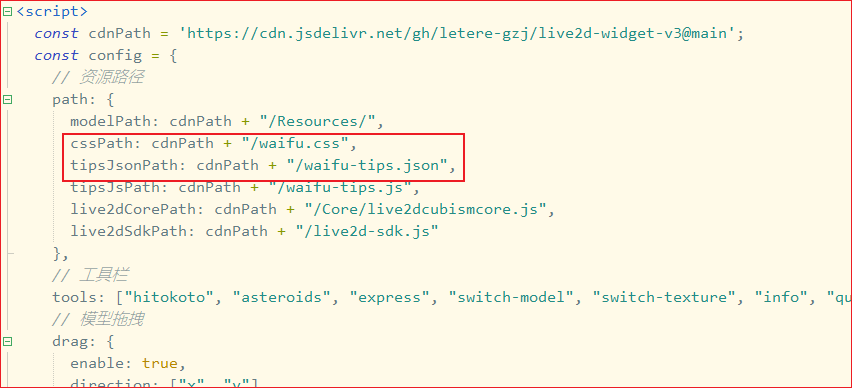
  • (1)css样式调整和提示语的调整,跟live2d-widget无异,从仓库中下载waifu.csswaifu-tips.json文件,放入博客中,通过本地引入方式,修改代码中config.path.cssPathconfig.path.tipsJsonPath这两个参数
  • (2)具体操作和调整方式,请参考【Hugo】Live2d-widget 给博客引入萌萌的看板娘

2.2 自定义模型

  • (1)自定义模型方式也是和live2d-widget基本无异(因为就是基于live2d-wdiget进行二开的),准备好 modelmodel_list.json 文件,可直接下载本仓库代码中的/Resources目录
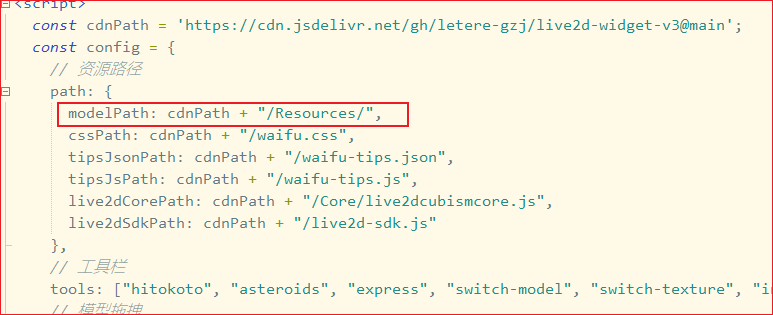
  • (2)将自己的自定义模型中放入model目录,修改 model_list.json 文件,最后修改config.path.modelPath通过cdn的形式引入文件
  • (3)具体操作参考【Hugo】Live2d-widget 给博客引入萌萌的看板娘

2.3 自定义模型-拓展

  • 除了live2d-widget原生的功能外,个人还进行了一些功能拓展
  • 接下来会以本站的模型,也是这位【b站up主】所提供的免费模型进行演示
    • 如果你也使用此模型,请勿吝啬你的点赞、投币,收藏,来支持一下此up主


2.3.1 调整模型大小和位置

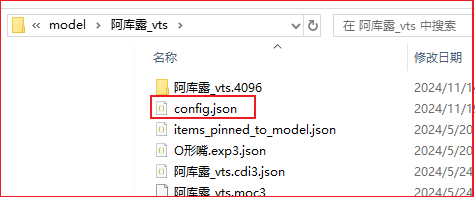
  • 在模型的目录下,创建一个config.json文件,将以下内容复制进去,修改参数就可以对大小和位置进行调整 【在线调整地址
  • scale: 模型大小
  • translate.x: 模型x轴偏移量
  • translate.y: 模型y轴偏移量
1
2
3
4
5
6
7
{
  "scale": 1.0,
  "translate": {
    "x": 0.0,
    "y": 0.0
  }
}


2.3.2 适配模型表情

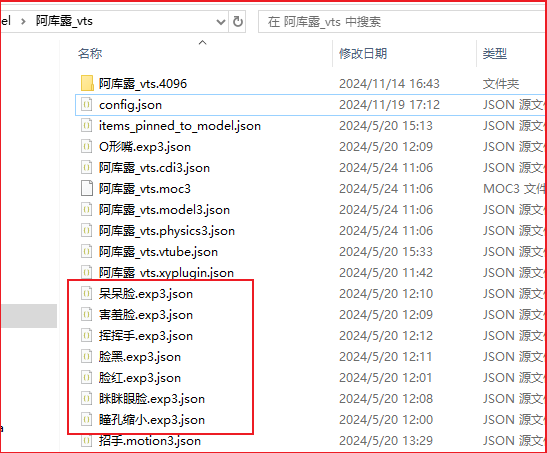
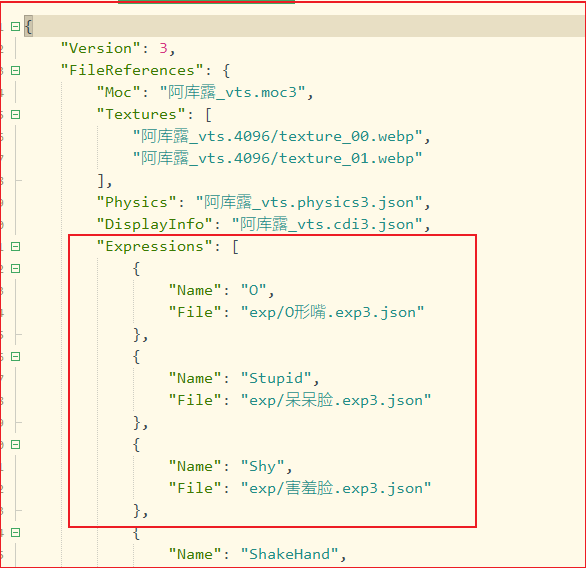
  • 模型文件中如果存在xxx.exp3.json文件,此文件为模型的表情文件

  • 可修改xxx.model3.json,按照以下格式,进行配置
 1
 2
 3
 4
 5
 6
 7
 8
 9
10
11
12
{
  ...
  "FileReferences": {
    ...,
    "Expressions": [
      {
        "Name": "表情名",
        "File": "表情文件路径"
      }
    ]
  }
}

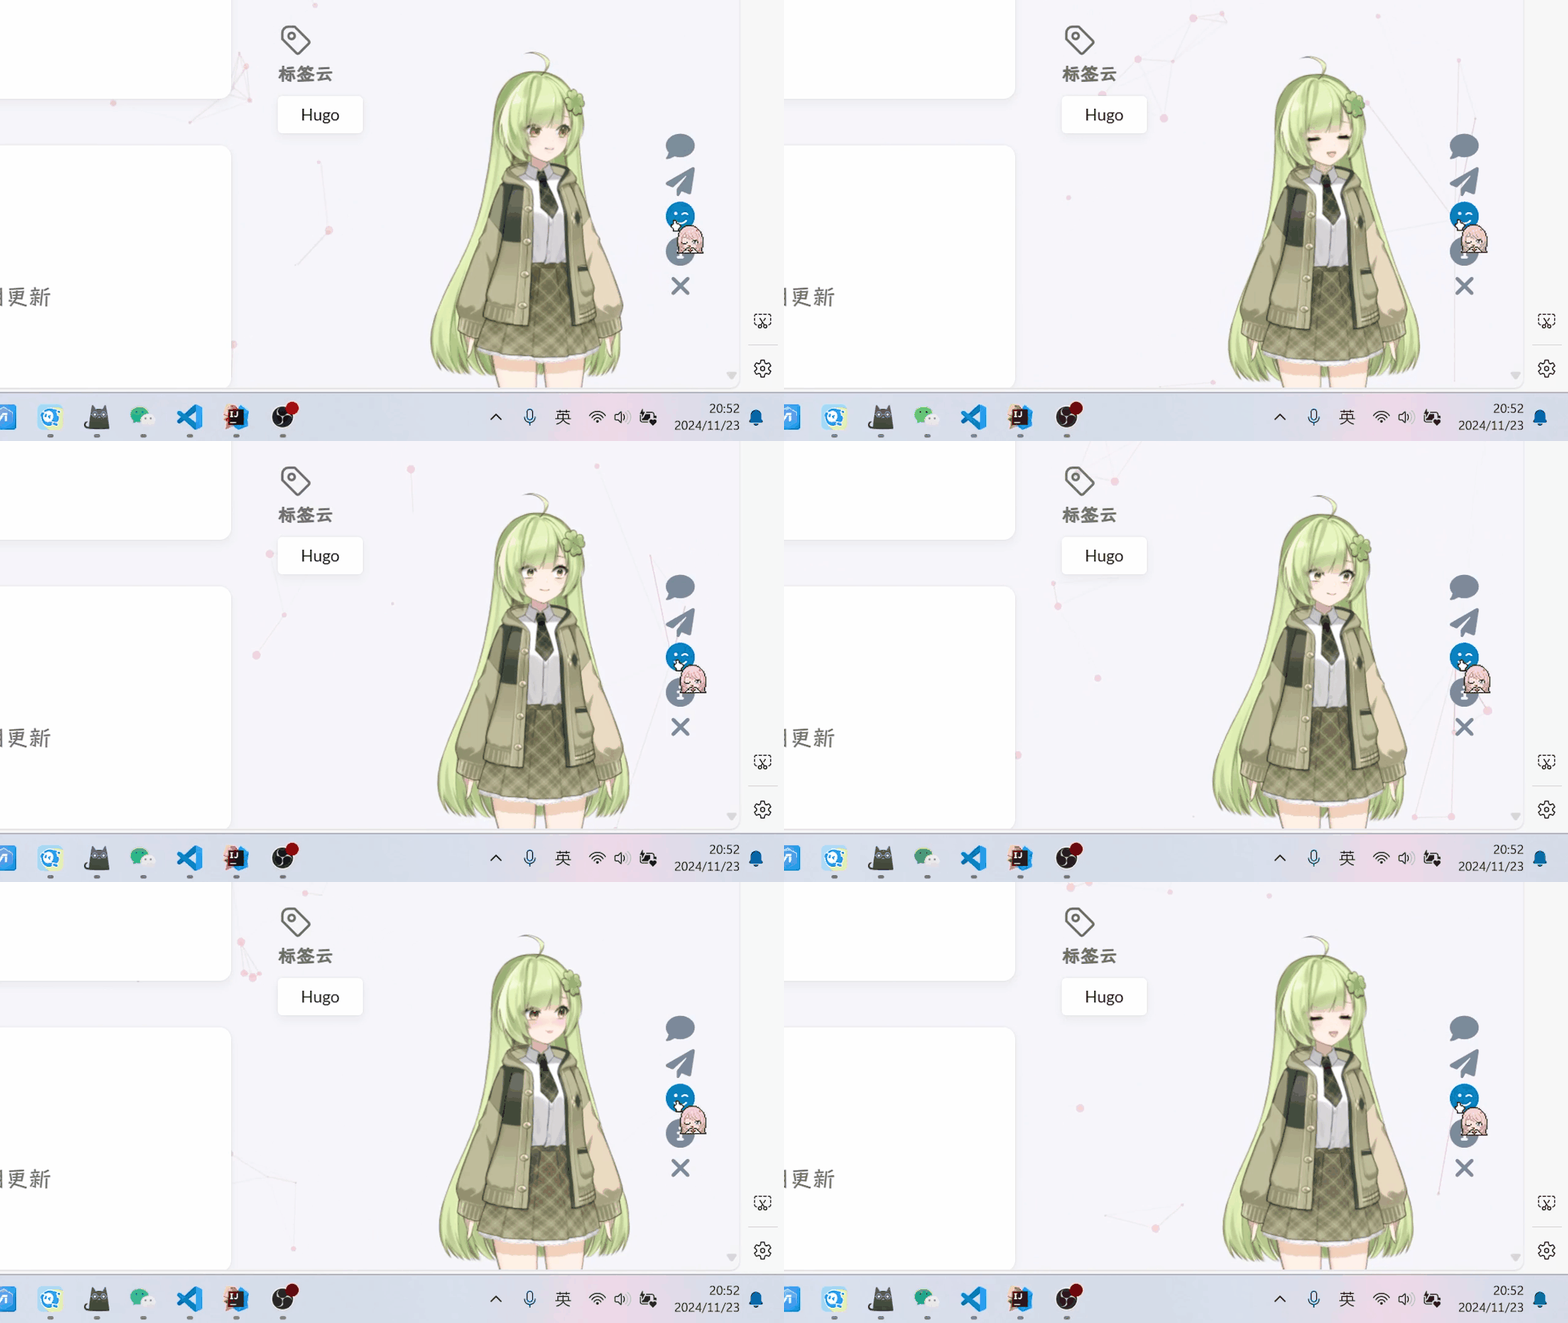
  • 这样点击侧边工具栏的标签按钮,就会随机切换表情了


2.3.3 适配模型动作

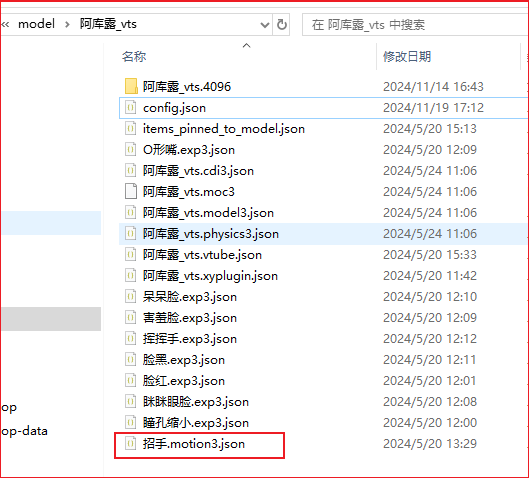
  • 若模型存在xxx.motion3.json文件,此文件为模型的动作文件

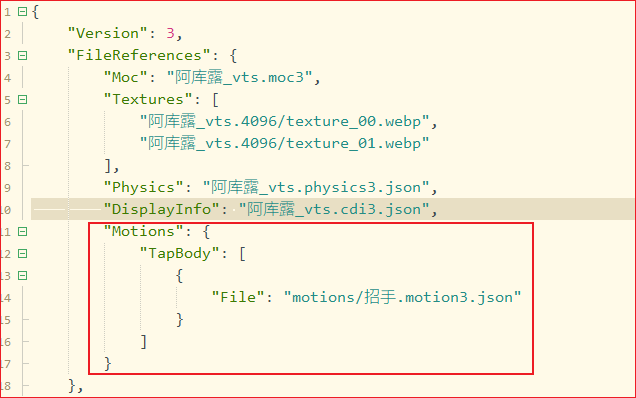
  • 可以修改xxx.model3.json文件,按照以下格式,进行配置
  • 动作的触发分为两种,配置时选其中一种配置即可
    • Idel:闲置动作,会一直从闲置动作数组中,随机选一个进行播放
    • TapBody:点击动作,当点击画布时,才会从点击动作数组中,随机选一个进行播放
 1
 2
 3
 4
 5
 6
 7
 8
 9
10
11
12
13
14
15
16
17
18
{
  ...
  "FileReferences": {
    ...
    "Motions": {
      "Idle": [
        {
          "File": "动作文件路径"
        }
      ],
      "TapBody": [
        {
          "File": "动作文件路径"
        }
      ]
    }
  }
}

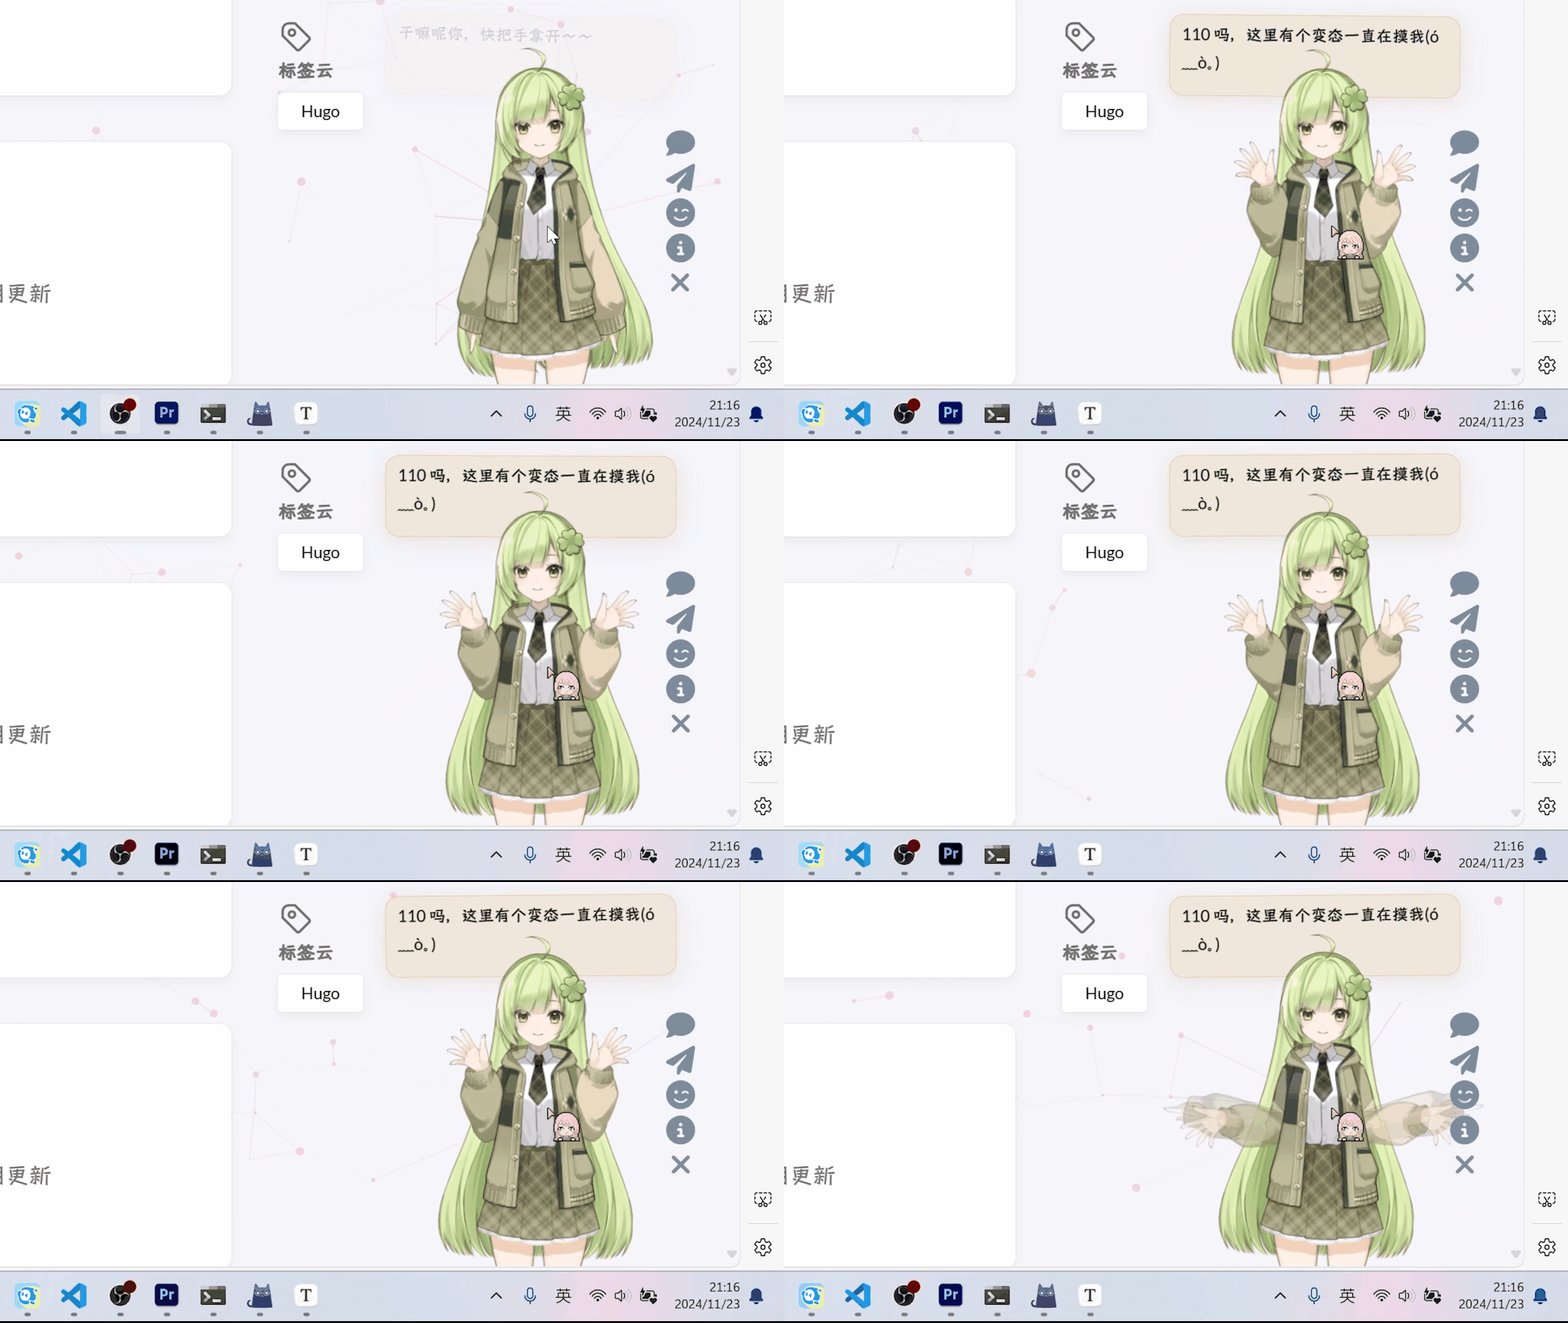
  • 因为我配置的是TapBody,所以点击模型时,会触发模型的招手动作


3 优化

3.1 png转webp

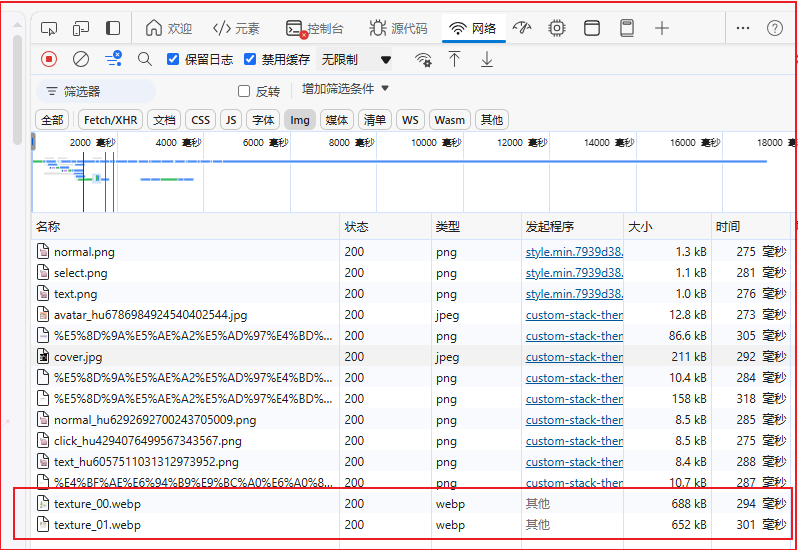
  • 为了优化模型的加载速度,可以将模型中的皮肤png文件,转为webp文件
  • 清晰度几乎没有变化,但皮肤文件的小了有10倍多,可以减少网络请求量,从而加快加载速度

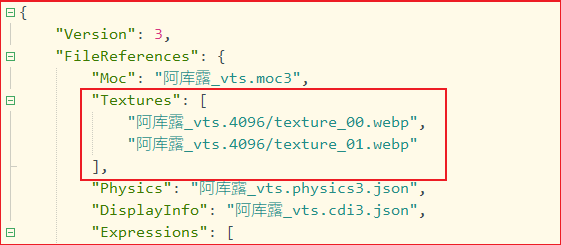
  • 转完webp文件后,修改xxx.model3.json文件,将皮肤文件从png改成webp

  • 这样网络请求时要加载的数据量就会少很多


根据CC BY-NC-SA 4.0协议授权
使用 Hugo 构建
主题 StackJimmy 设计