1 环境准备
1.1 Git下载
- 前往【Git官网】,下载安装程序
- 一直点下一步,默认安装即可

1.2 Hugo下载
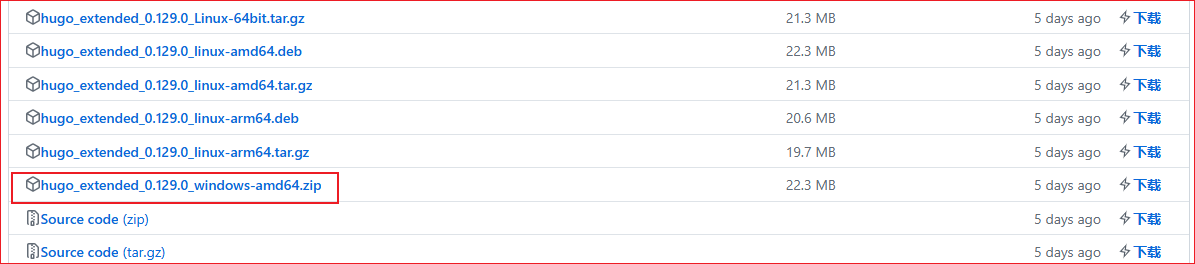
- 前往【Hugo Github Tags】,选择对应版本下载,下载后解压即可
- Windows下载版本:hugo_extended_xxxxx_windows_amd64.zip
2 搭建博客
2.1 创建博客
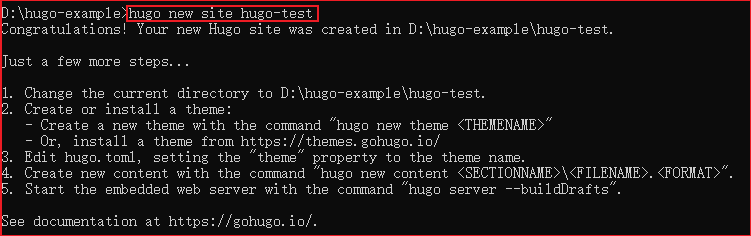
- (1)在hugo.exe所在文件夹的地址栏敲打cmd,然后Enter唤起命令行

- (2)敲打命令
hugo new site xxxx创建hugo文件
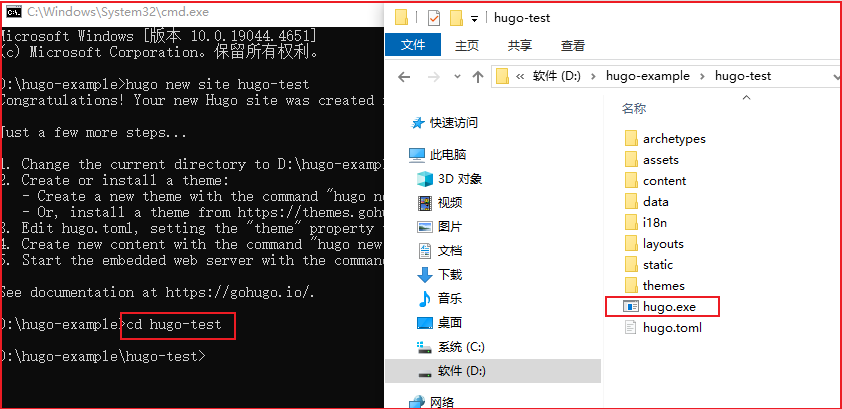
- (3)敲打命名
cd xxxx切换目录,并把hugo.exe复制到刚生成的文件夹中
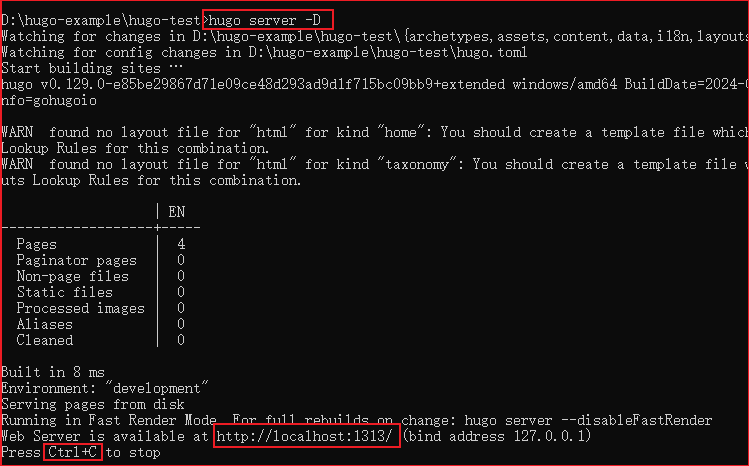
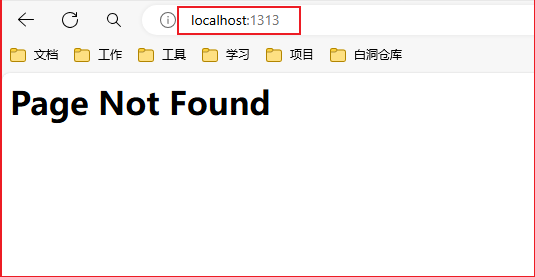
- (4)敲打命令
hugo server -D启动服务,访问http://localhost:1313,Ctrl+C停止服务 (hugo默认是没有主题的,需要进行主题配置)
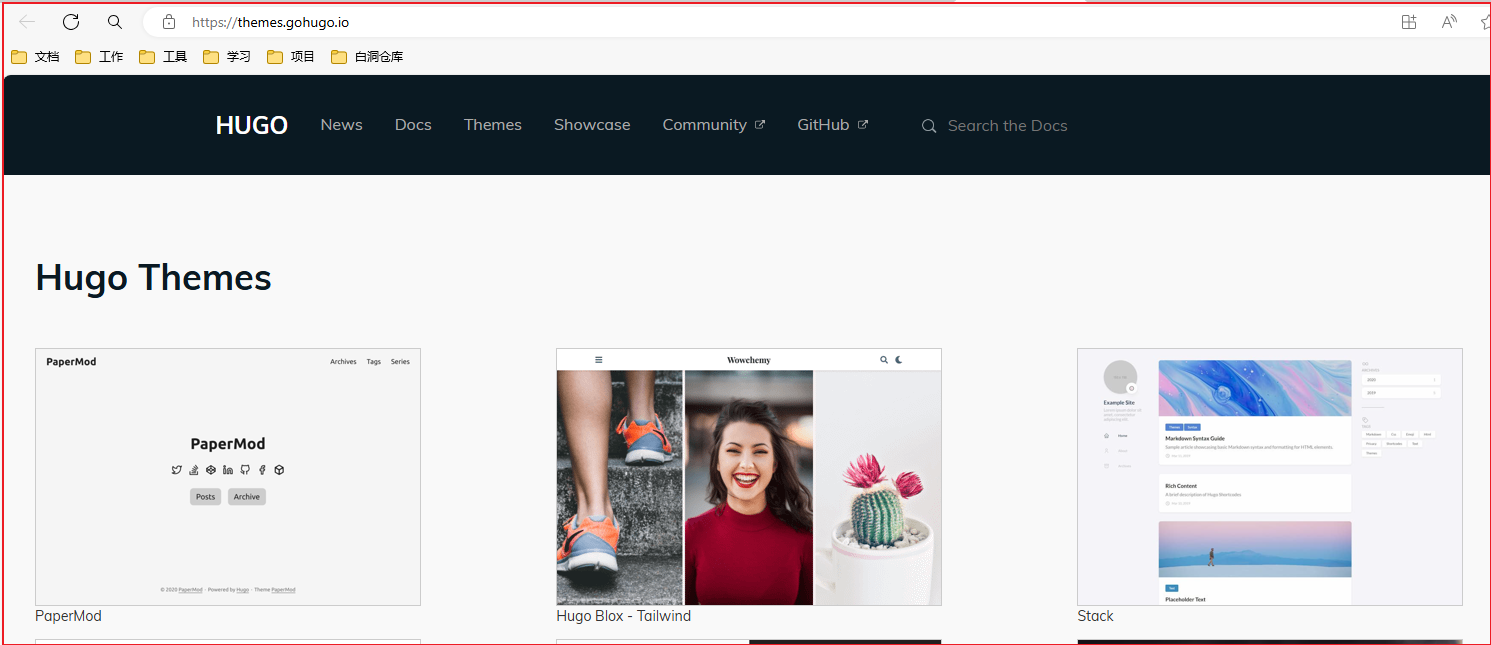
2.2 配置主题
- (1)前往【Hugo Themes】,查找自己喜欢的主题,进行下载
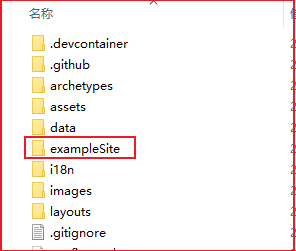
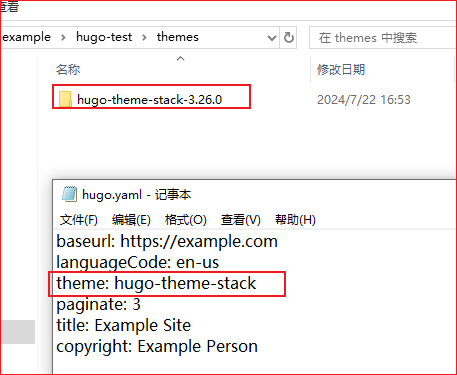
- (2)这边以【Stack主题】为例,将下载好的主题解压,放到
/themes文件夹中

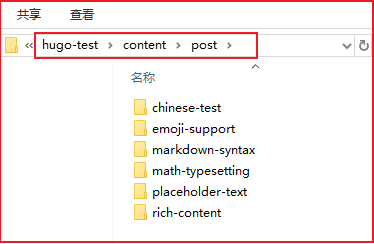
- (3)将
exampleSite样例数据中的 Content 和 hugo.yaml 复制到主文件夹中,并删掉hugo.toml和content/post/rich-content
- (4)修改 hugo.yaml 中的 theme,将他修改为跟主题文件夹同名
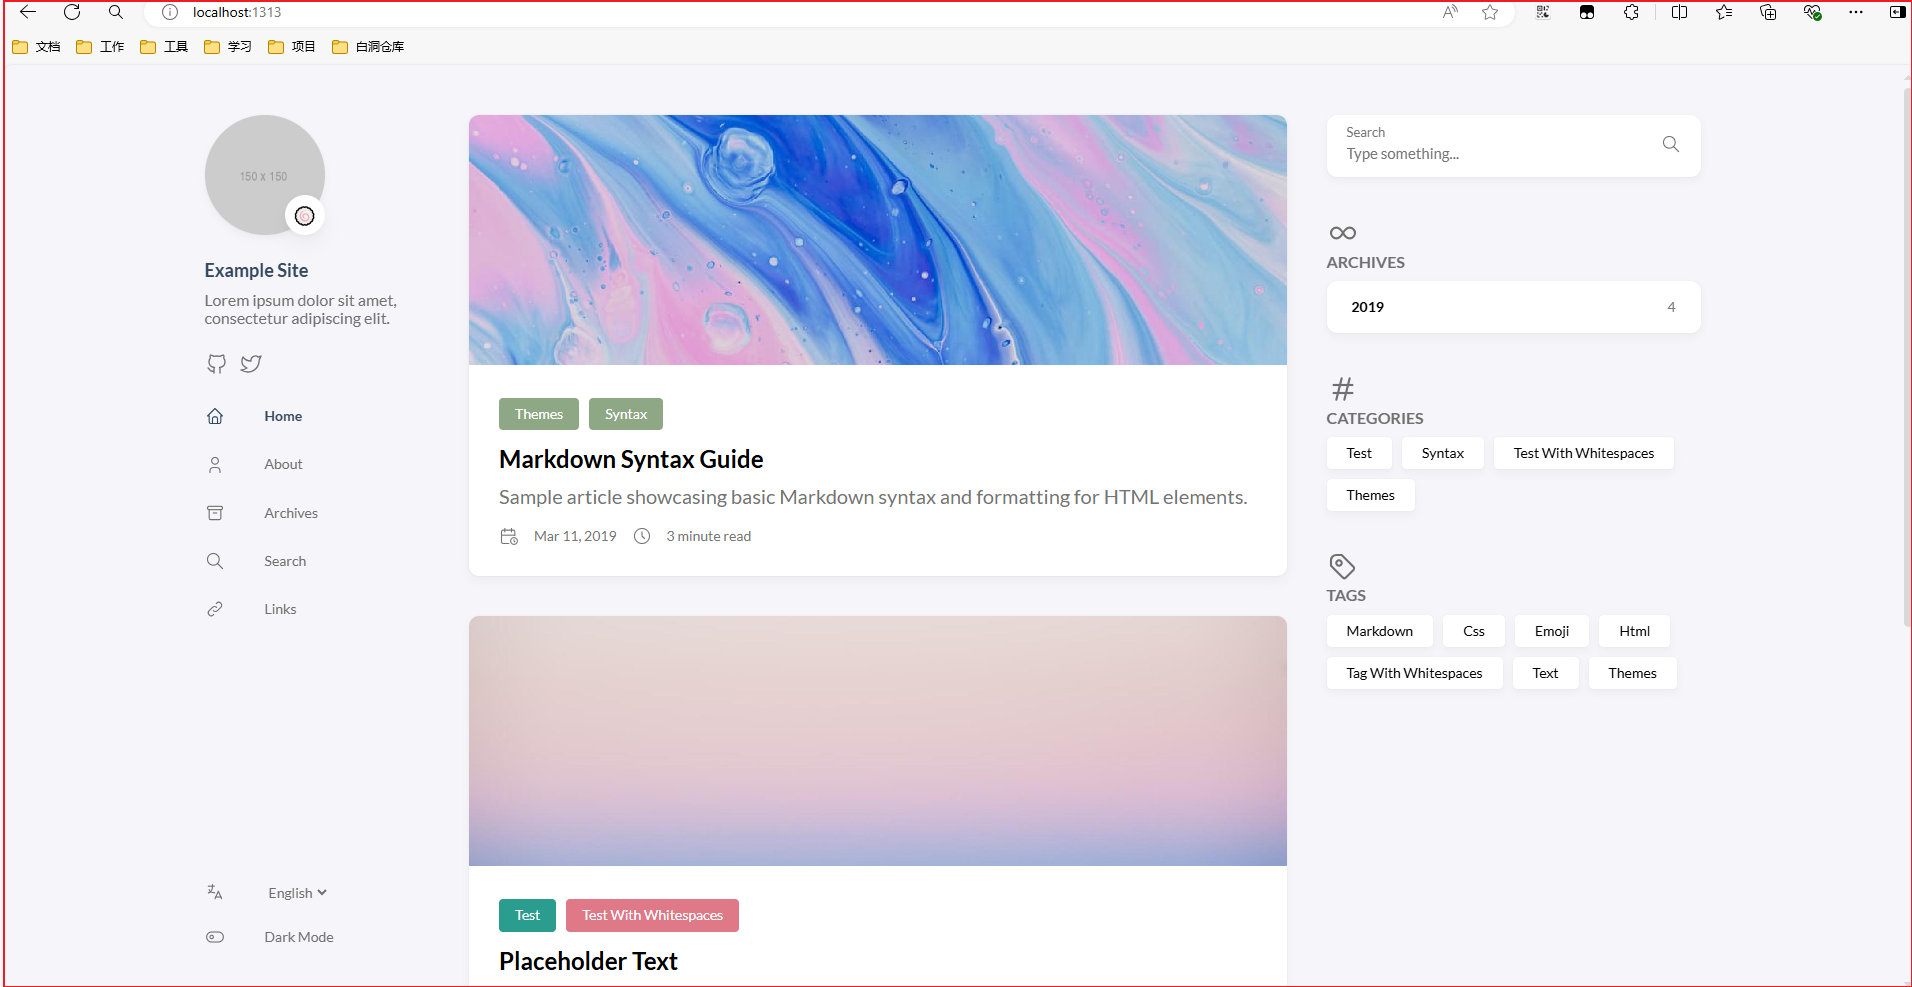
- (5)再次启动hugo服务,查看主题,具体主题配置修改 hugo.yaml,这里不细说,感兴趣可自行查找相关文章
3 Github部署
3.1 常规部署
- (1)前往【Github官网】,创建仓库 {github用户名}.github.io

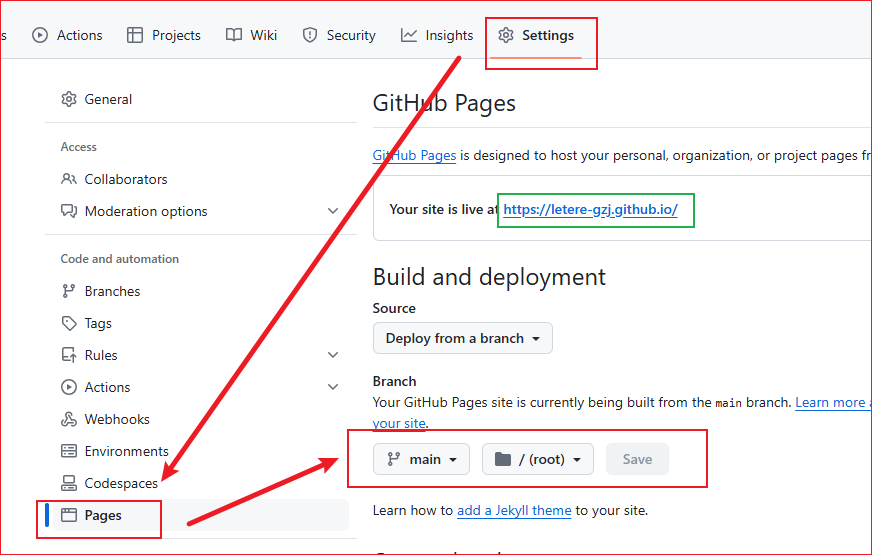
- (2)前往
Setting -> Pages -> Branch选择main分支,然后保存,会自动开启 https://{github用户名}.github.io 的地址,这地址也是以后访问博客的地址
- (3)回到hugo文件中,执行命令
hugo -D,会生成 public 静态资源文件夹
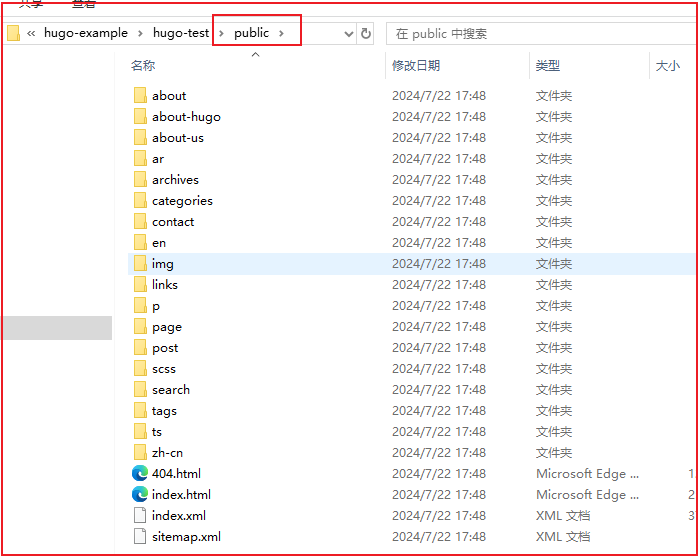
- (4)在 public 执行以下命令上传到github仓库上,第一次上传可能需要输入账号密码
|
|
- (5)上传成功后访问 https://{github用户名}.github.io,成功搭建属于自己的Hugo博客
3.2 Github Action自动部署
-
(1)Github创建一个新的仓库,用于存放Hugo的主文件
-
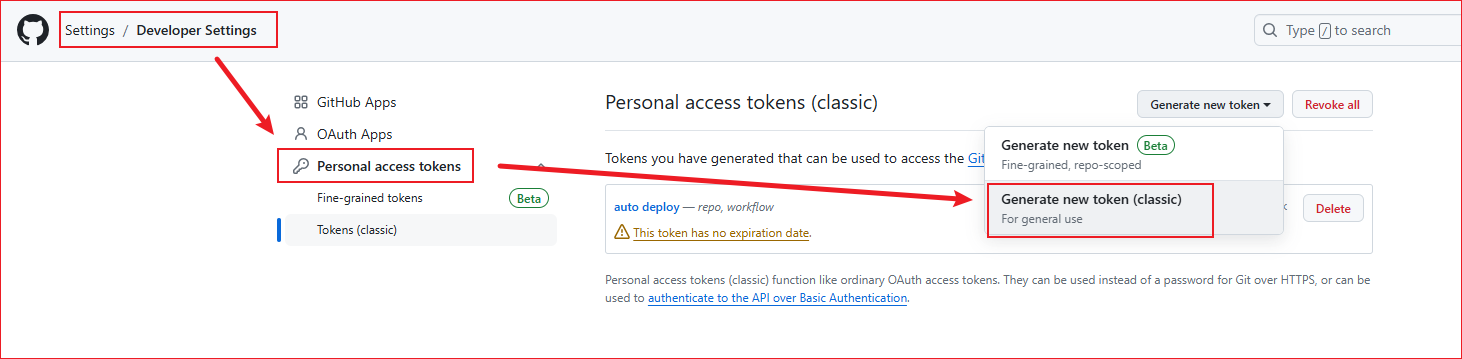
(2)前往
Setttings -> Developer Settings -> Personal access tokens,创建一个token(classic)
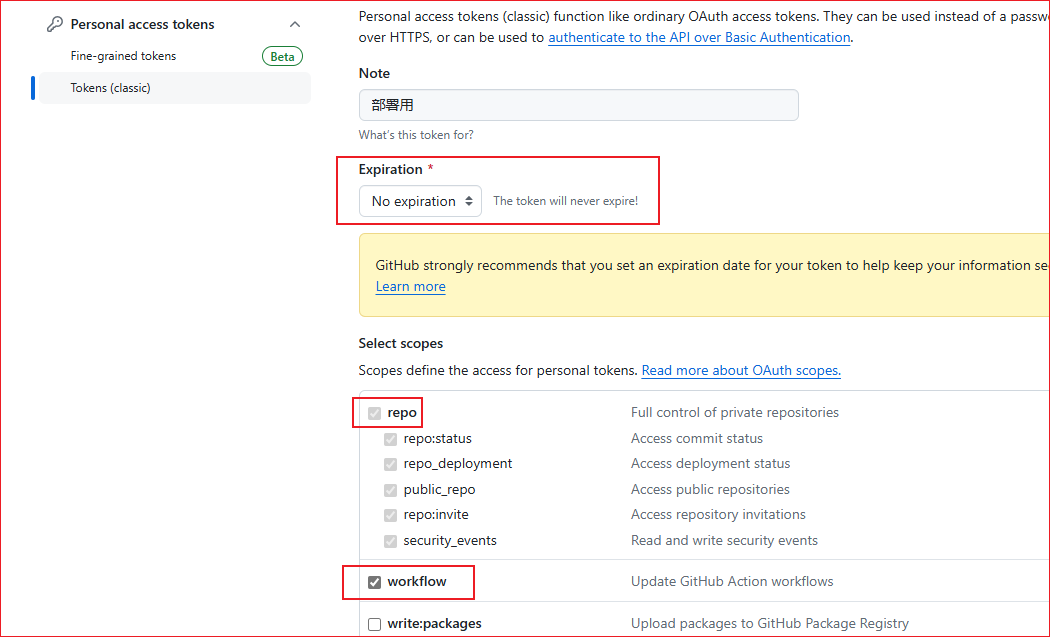
- (3)token选择永不过期,并勾选 repo 和 workflow 选项
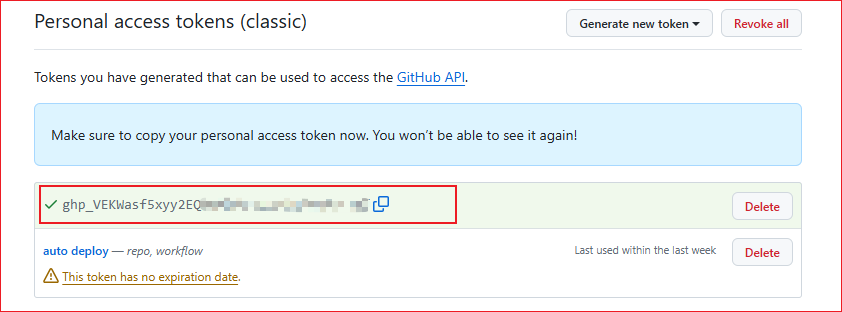
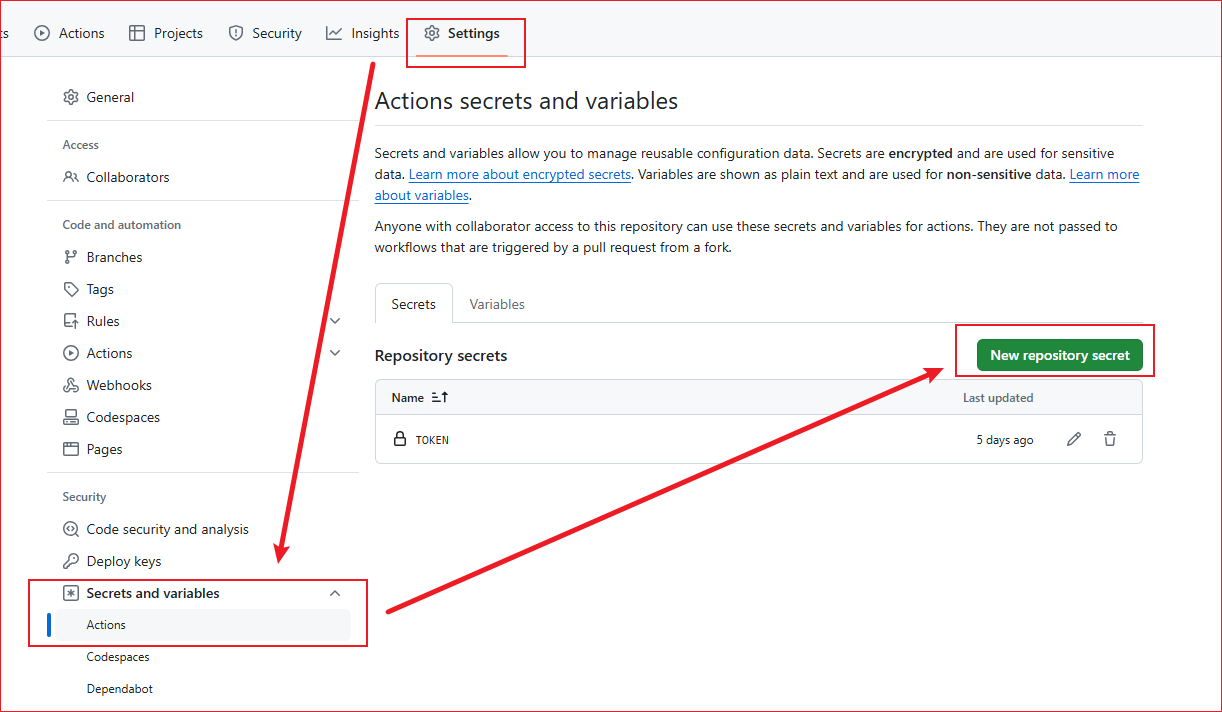
- (4)为保证安全,将生成的token,保存的仓库的变量中,前往
Settings -> Secrets and variables -> Actions中设置
- (5)在hugo主文件创建一个
.github/workflows/xxxx.yaml文件,将以下内容复制进去,想具体了解更多,可查看【Github Action文档】
|
|
- (6)在hugo主文件创建
.gitignore文件,来避免提交不必要的文件
|
|
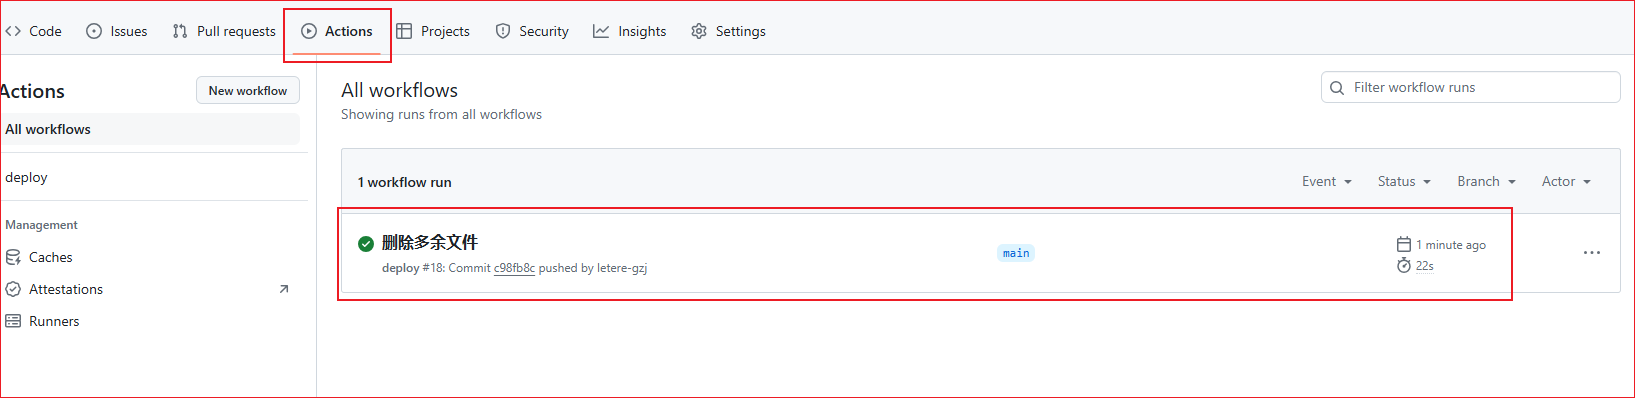
- (7)将hugo的主文件上传到仓库,上传成功后会触发Github Action,来自动部署你的静态页面
|
|