TODO:bilibili视频(不摸的话)
1. 基础引入
- 【Live2d-widget文档】
- (1)查看官方文档,引入对应的js脚本到
layouts\partials\footer\custom.html中(详情看引入音乐播放器的文章)
|
|
- (2)成功在左下角引入了live2d看板娘
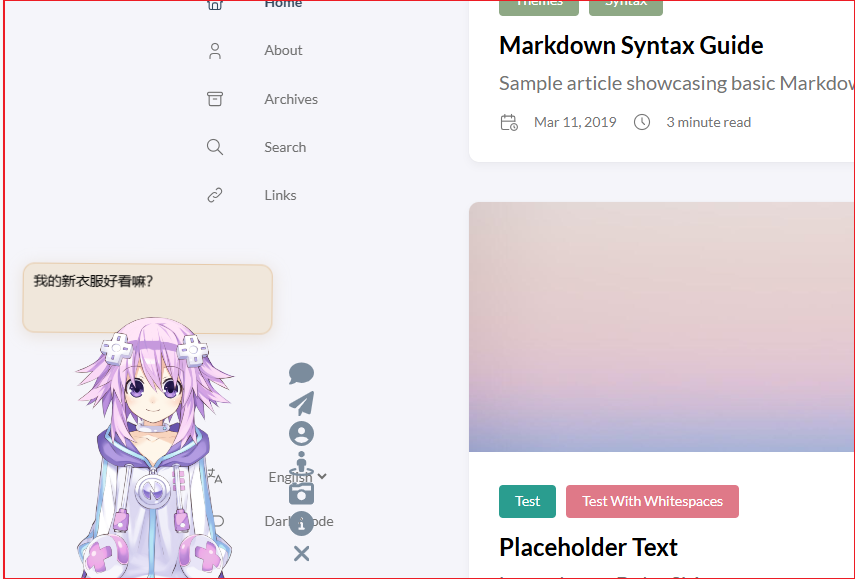
2. 自定义适配
- 看板娘是已经引入好了,但是显示在左下角,跟我当前的主题非常的不搭,需要对看板娘进行自定义,来适配主题
2.1 抽离autoload.js
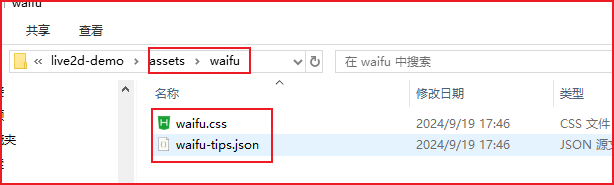
- (1) 前往【Live2d-widget文档】,把 waifu-tips.json 和 waifu.css下载,并放到
assets/waifu文件夹中(自己新建)
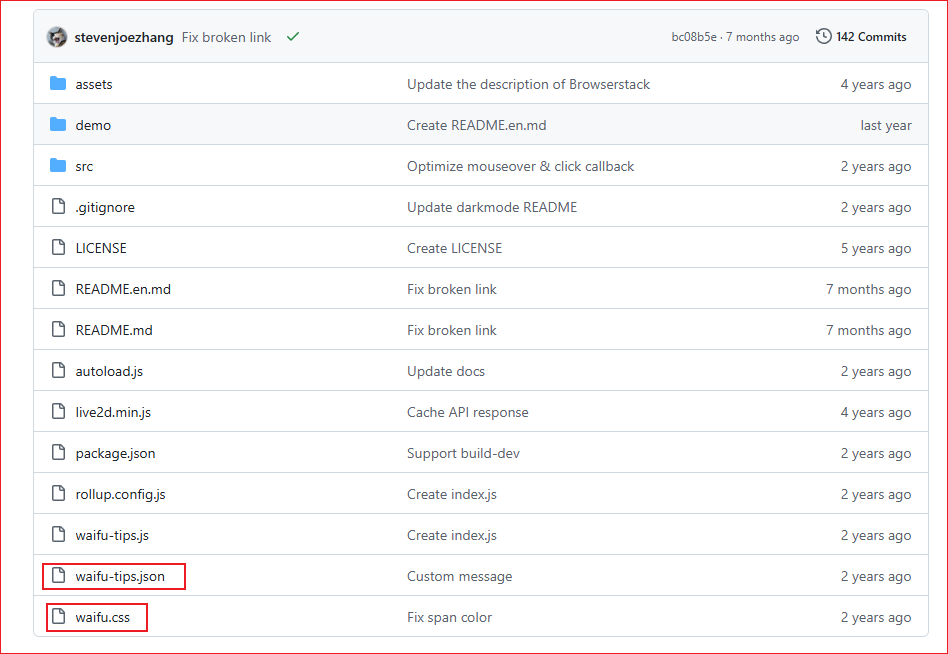
- (2) 把之前引入的 autoload.js 删掉,把下面代码引入到 custom.html 中
|
|
2.2 调整css样式
- (1) 修改
assets/waifu/waifu.css,将看板娘移动到右侧,更加适配Stack主题
|
|
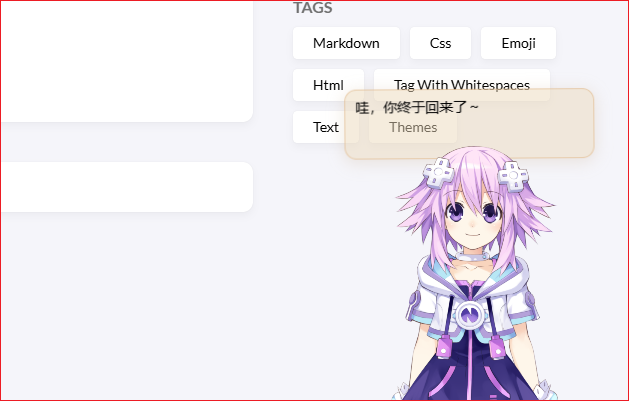
- (2) 这样看板娘就成功移动到右下角了
2.3 调整看板娘提示语
-
(1) 修改
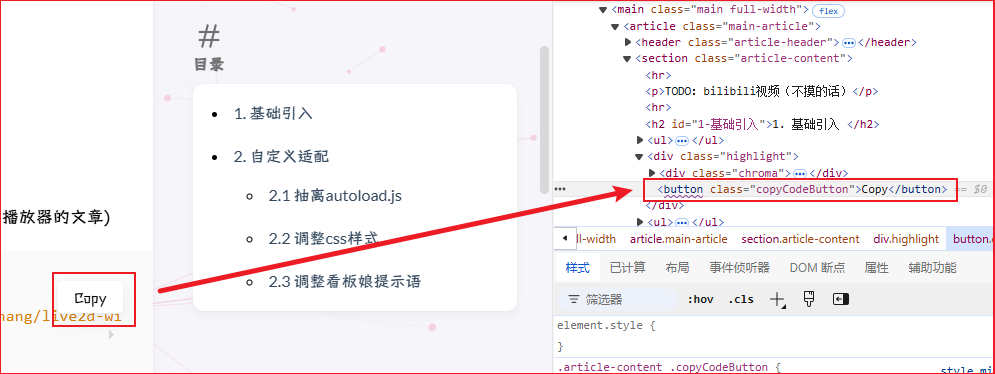
assets/waifu/waifu-tips.json,修改里面的css选择器,来适配页面内容元素,这边以复制按钮为例 -
(2) 查看复制按钮的元素,属性为
class="copyCodeButton"
- (3) 修改
assets/waifu/waifu-tips.json,新增or修改对应的文本,修改对应的css选择器
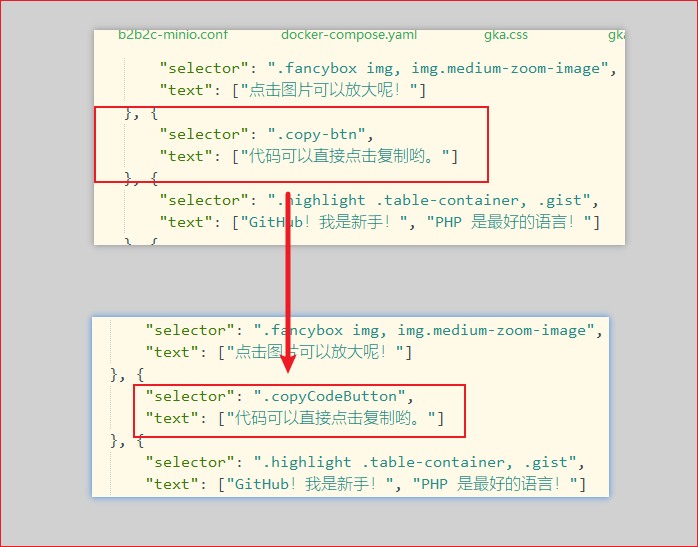
- (4) 这样当我们鼠标移动到对应的元素之后,看板娘就会有对应的提示语

2.4 自定义模型
-
(1) 前往【live2d_api】,下载代码,这仓库中的文件就是 live2d-widget 的所使用的模型
-
(2) 修改
model_list.json文件,来添加or删除live2d模型(若有属于自己的live2d模型,请将模型放到model文件夹下) -
(3) 引入live2d文件可以本地引入(具体看音乐播放器文章),这次演示用cdn的形式引入,cdn使用的是【jsDelivr】
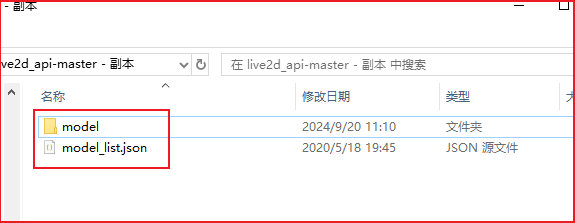
-
(4) cdn引入不需要php文件,将多余的php文件删掉,只保留 model 和 model_list.json
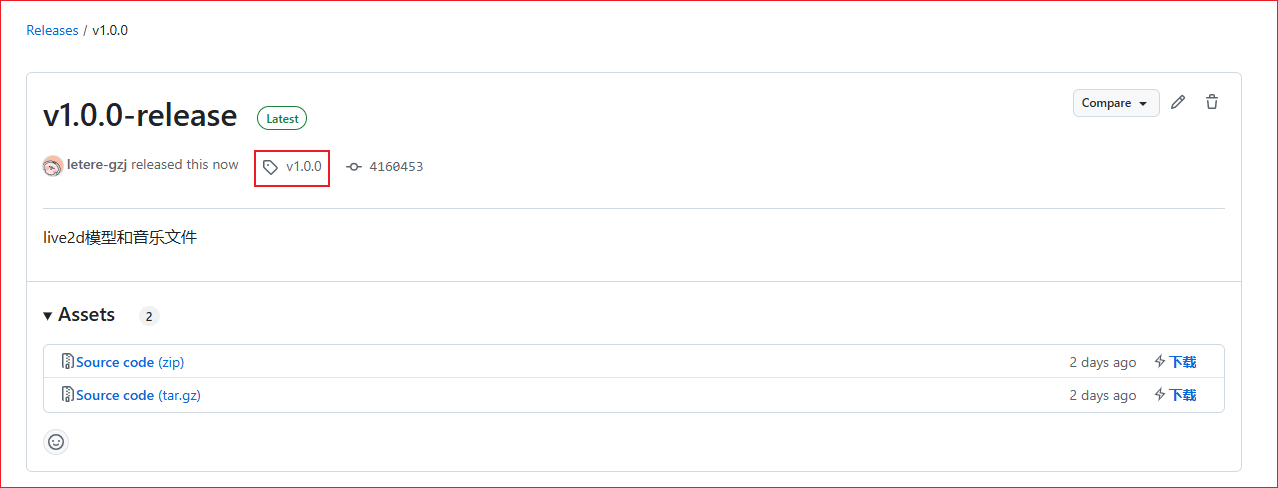
- (5) github新建一个公有(public)仓库,将代码上传到仓库上,打标签(Tags)并发布(Releases)一个版本
- (6) 修改
layouts/partials/footer/custom.html文件中的cdnPath
|
|
- (7) 这样就成功通过cdn的形式引入自己的live2d模型文件